If you have little self control when it comes to sweets, you better not read this post. I mean, really, once you know how to make your own marshmallows there is no turning back!
I honestly can't remember the last time I ate store bought marshmallow. Oh, wait, yes I can. I was out with my brothers working in the orchard and we were burning the branches we cut. One of my brother's friends came and brought marshmallows from the gas station to roast while we kept the fire. Last time I will ever eat a store bought marshmallow again. I felt sick all afternoon.
Now that I make my own, I realize they are the best ever! They taste just like a marshmallow, have the perfect texture, and roast amazingly!
Now that I make my own, I realize they are the best ever! They taste just like a marshmallow, have the perfect texture, and roast amazingly!

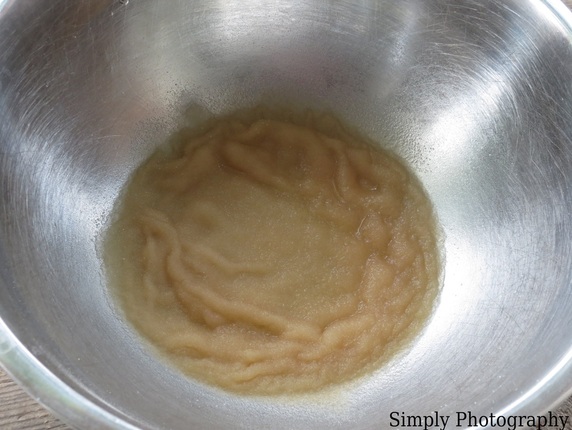
To start, you sprinkle gelatin powder over water.
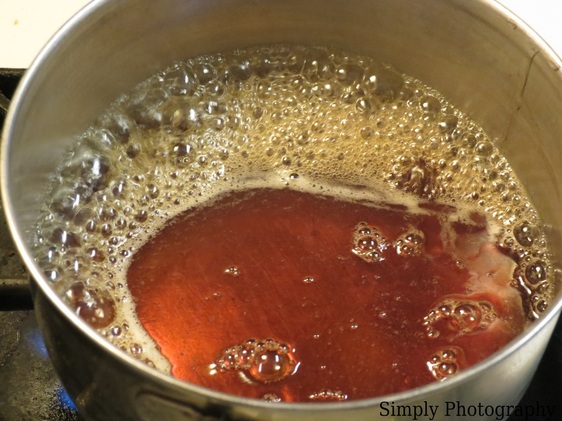
Then you heat up your maple syrup.

Until it get's nice and hot. Almost there...
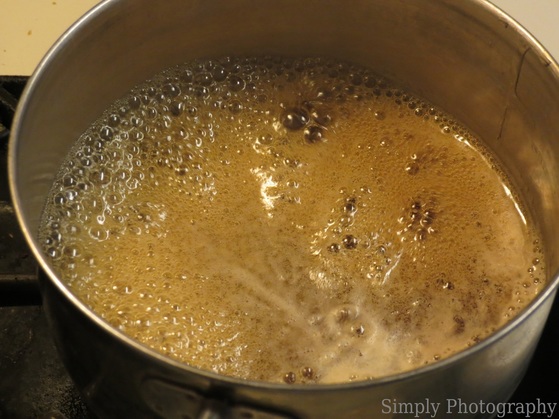
Done! Turn off the heat.
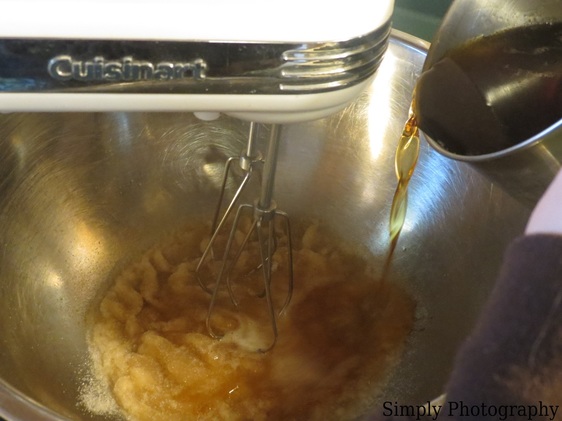
Next, pour the hot syrup into the gelatin and use your electric mixer. Start beating at a low speed as you pour the syrup in.
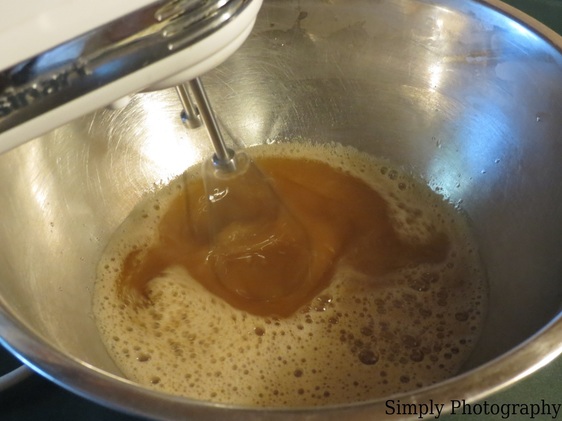
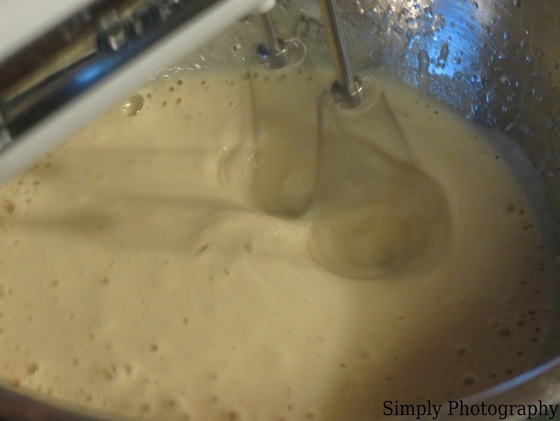
Work up speed till medium to high. The faster the better. Slowly it will start to thicken.
You'll get lots of foam the first few minutes.
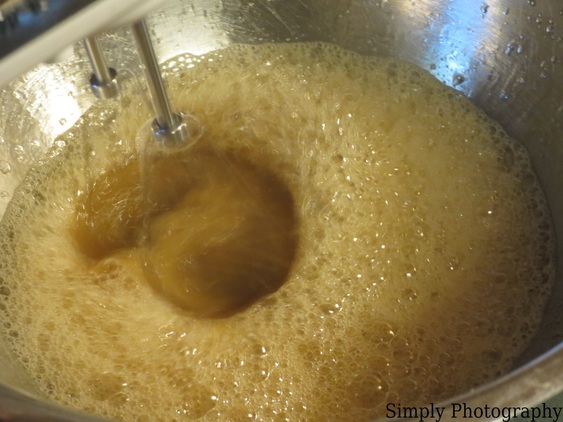
Then it will get less foamy then start to thicken.
You can see the foam going away and the "batter" get thicker. At this point you are getting close!
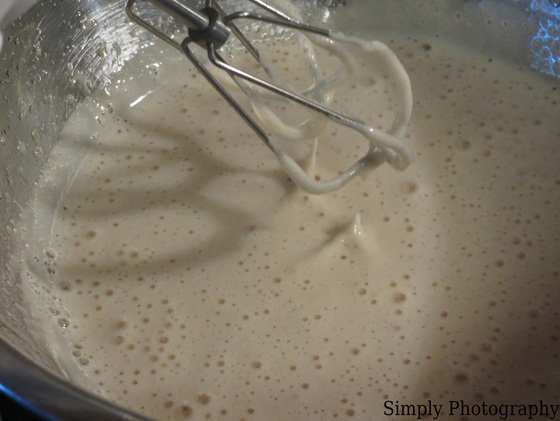
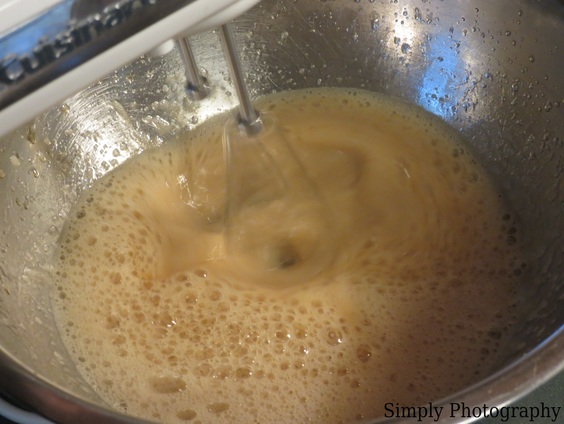
Check to see how close you are by making peaks. Here the "batter" is very close to being done. You might also notice the light brown color from the maple syrup going away and it's looking more white.
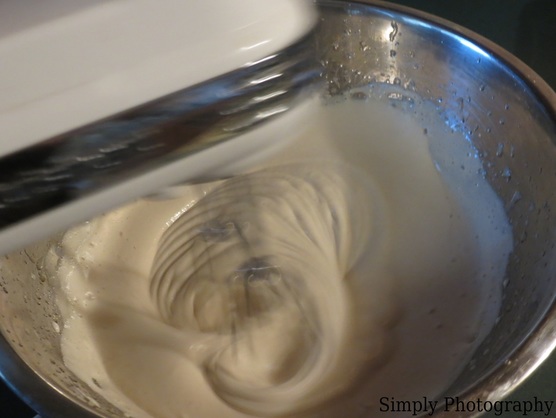
Now you're going to want to beat it at a super high speed! See how you can see the beater path in the goop? That's an indicator that it's ready!
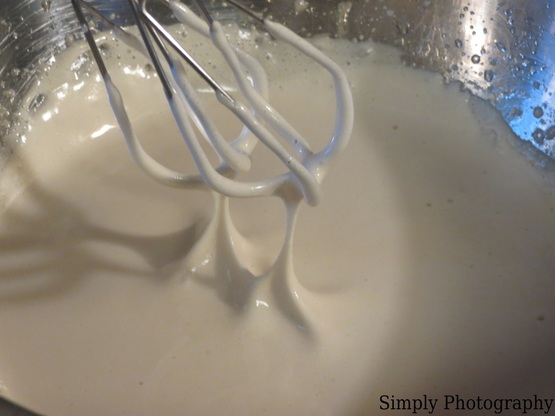
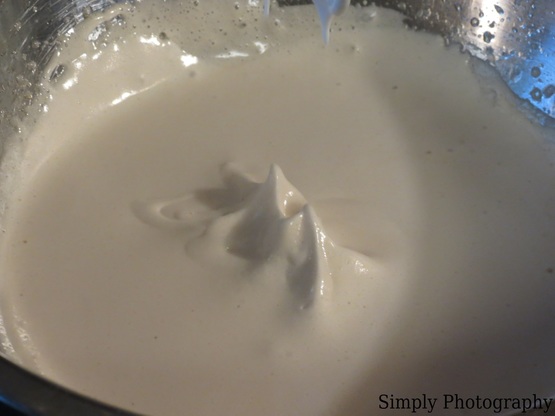
See how the peaks stay? It's ready for the next step!
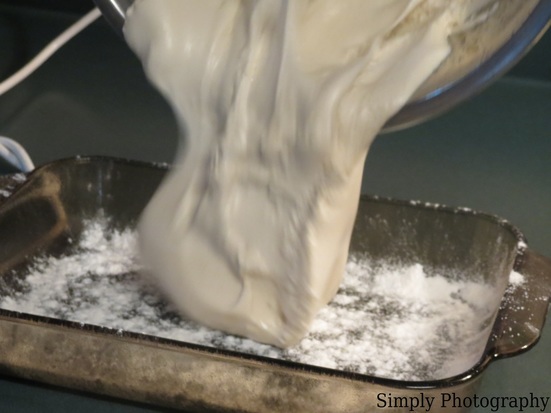
Now you pour the marshmallow fluff into a prepared pan. I had my older brother pour and spread the fluff so I could take pictures, but he took way to long so the fluff was setting in the bowl hence, making the finished product no so pretty looking. However, that will not cause any problems to your marshmallows....unless you are trying to take nice pictures for a blog. ;)
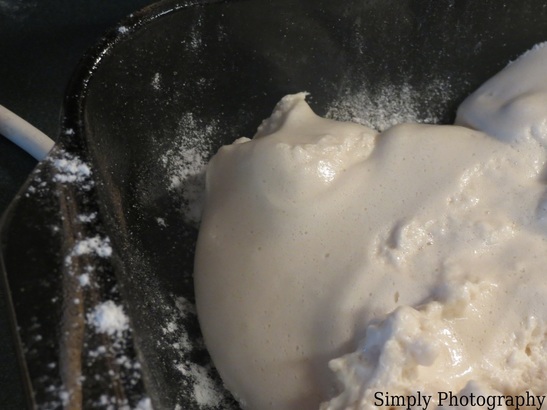
Make sure you spread the fluff to the corners of your dish as well.
Loosely cover and let sit until firm.
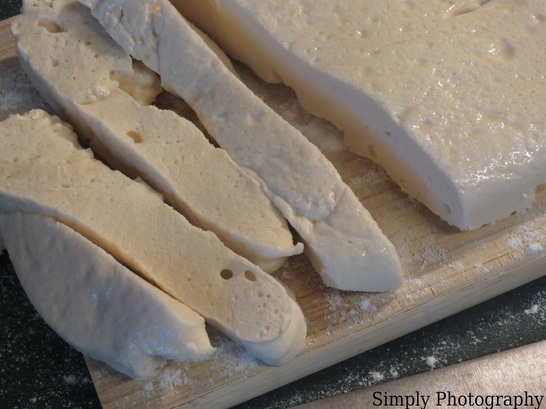
Once the batter is set, dump it out onto your workspace and cut into strips.
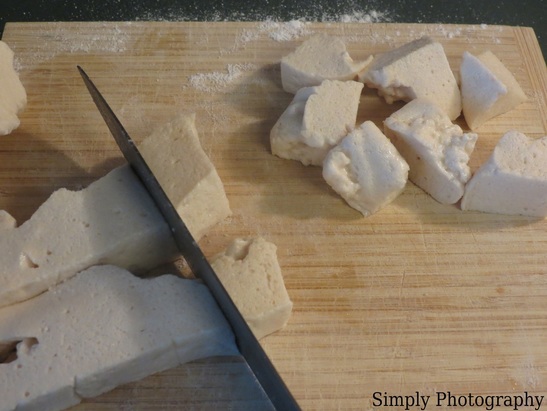
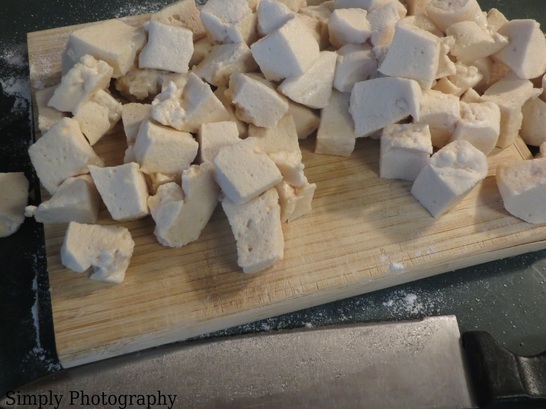
Cut the strips into cubes.
And there you have it! You just made your own homemade, sugar free marshmallows!!!
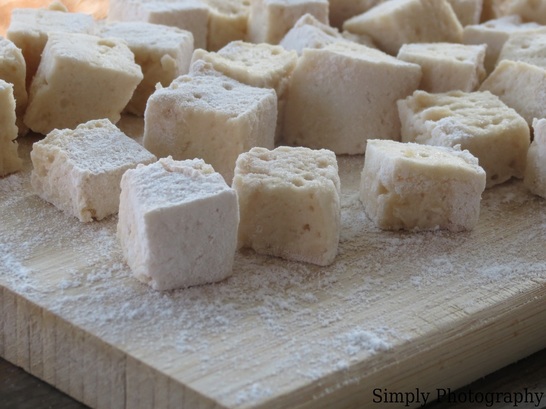
Perfect for roasting, s'more making, or eating just by themselves, these marshmallows are perfect!
Sugar Free Marshmallows
3 Tbsp. unflavored gelatin
2 tsp. vanilla extract
1 cup maple syrup
1/2 cup water
pinch of salt
1/4 tsp. cream of tarter (optional-it just improves the texture)
arrowroot or powdered sugar or cornstarch (for dusting)
Grease a 8x8 pan and dust it with arrowroot powder (or dusting option of choice).
In a bowl, mix the water, vanilla, and cream of tarter. Sprinkle the gelatin over the top and set aside.
In a small saucepan, heat the maple syrup and salt until it reaches 240 degrees on a candy thermometer. Stir frequently to prevent it from boiling over.
Once it's hit temp, pour the hot syrup into the gelatin mixture and beat on high for 8-10 minutes, or until stiff peaks form and the marshmallow batter will hold its shape.
Spread the marshmallow mixture in your pan, loosely cover and allow it to set for 3-4 hours.
Remove the set marshmallow block from the pan, and cut into squares (or whatever shape you want). You may need to sprinkle your cutting surface with arrowroot powder to prevent a sticky mess.
Store loosely covered. I usually leave mine on the counter, and they will last 5-7 days easily (if you don't eat them before then...). Otherwise, the freezer works great for long-term storage. I prefer my homemade marshmallows to dry out a bit, so I make sure to allow plenty of air circulation as I store them. Dry marshmallows also work the best if you plan to toast them over a campfire.
 RSS Feed